A gypsum board patch becomes hard to see when the damaged area is stable, the patch is properly backed, the joints are feathered wider than the hole, and the repaired surface is primed and painted to match the surrounding wall. The repair fails visually when the patch is rushed, under-sanded, over-sanded, or finished without considering light and texture.
Patch finish snapshot: Fix the cause first, cut clean edges, support the patch, use tape and thin compound layers, feather beyond the repair, match texture carefully, and prime before painting.
Start by understanding why the wall failed
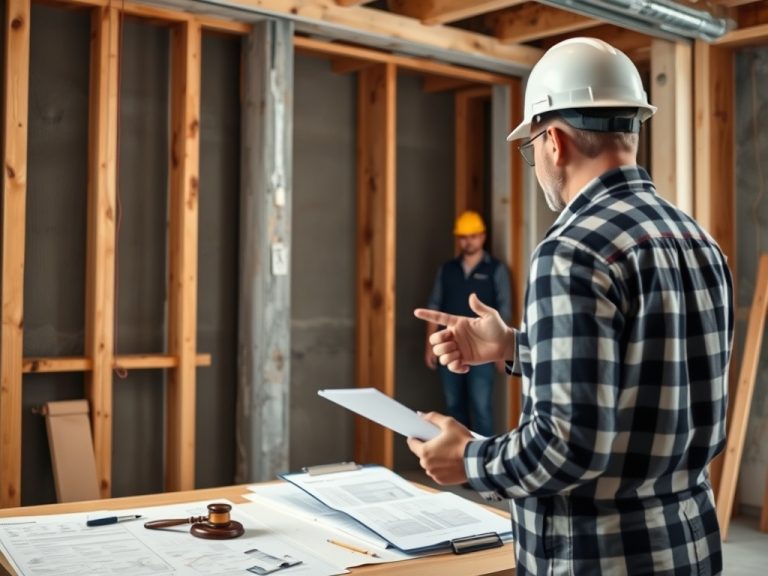
Do not start with joint compound. Start with the cause. Impact damage, settlement cracks, door-handle dents, moisture, fastener pops, tape failure, and poor previous repairs require different responses. If the board is wet, moldy, soft, or near a recurring leak, repair the water source before patching. If the assembly is fire-rated, sound-rated, or part of a shaft, corridor, garage separation, or demising wall, follow the listed assembly and get qualified help.
For older housing and child-occupied facilities, lead-safe work can be a legal and health issue. EPA provides guidance for renovation, repair, and painting in pre-1978 settings through lead-safe RRP resources, so sanding and demolition should not be treated as harmless dust work.
Match the repair method to the damage
| Damage type | Best starting approach | What makes the patch visible later |
|---|---|---|
| Small dent or gouge | Clean loose paper, seal torn facing if needed, skim in thin coats | Raised edges, fuzzy paper, or paint flashing |
| Hole from hardware | Use setting compound or patch backing depending on size | No backing, thick compound, or a sunken center |
| Crack at joint | Remove loose tape, retape, feather wider than the seam | Treating movement as a surface-only problem |
| Water stain | Confirm dry conditions, address source, seal stain, then finish | Painting over active moisture or staining |
| Large impact hole | Cut square, add backing, install matching board, tape and finish | Patch movement, proud board, or narrow feathering |
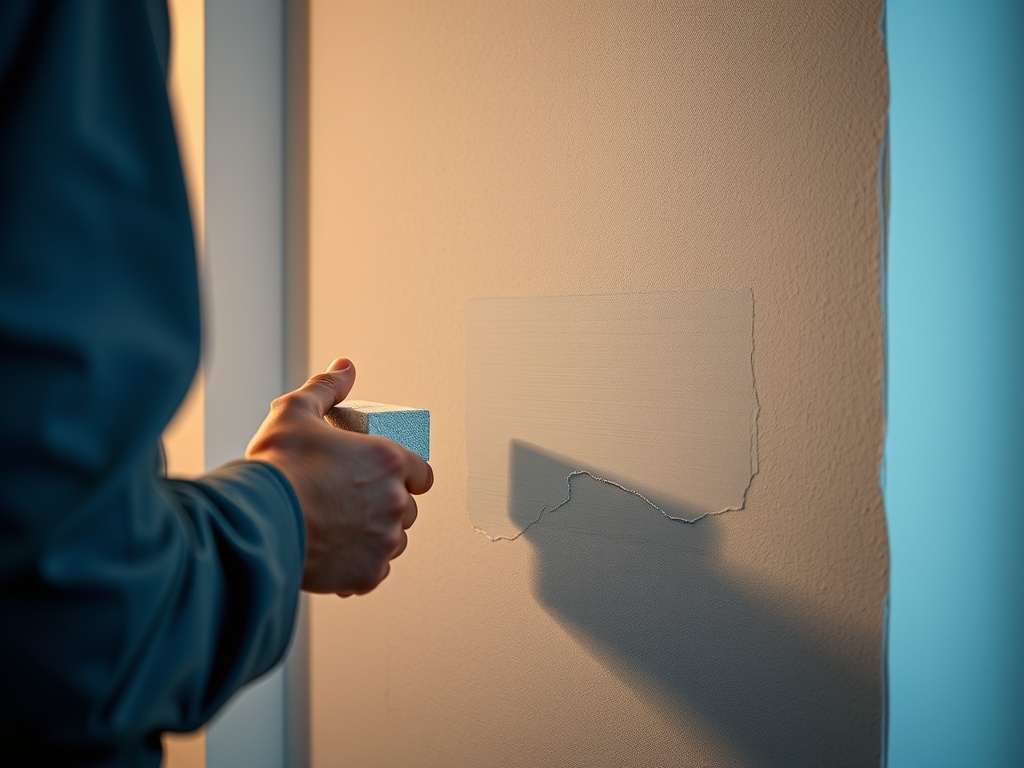
A step-by-step patching process
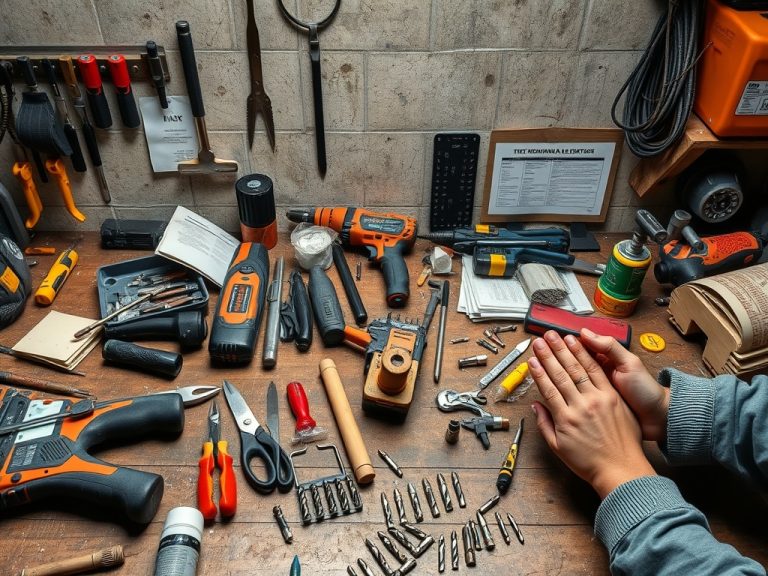
- Protect the area and control dust. Remove furniture where practical, cover floors, and use proper respiratory protection for dusty work.
- Cut the damaged gypsum board to a clean shape. A square or rectangle is easier to back and tape than a ragged hole.
- Install backing when the patch does not land on framing. The patch should sit flush with the surrounding board, not float behind it.
- Fasten a matching gypsum board piece without breaking the paper face or overdriving screws.
- Apply tape over the seams. Paper tape and fiberglass mesh behave differently, so use the compound type recommended for the tape and setting conditions.
- Build thin coats. Let each coat set or dry as required before scraping high spots and applying the next wider coat.
- Sand lightly and inspect with side light. The goal is a smooth transition, not a polished depression.
- Prime the repair before paint. Unprimed compound can absorb paint differently and create a visible patch.
Finish expectations should be realistic. The Gypsum Association publishes levels of finish guidance that helps specifiers describe finish quality before decoration. ASTM also covers requirements for gypsum board application and finishing through ASTM C840. For a small repair, you do not need to memorize every standard, but you do need to understand that final appearance depends on finish level, paint sheen, texture, and lighting.
Why invisible patches are often wider than expected
Beginners often keep compound close to the hole, which creates a visible hump. A better patch spreads the transition over a wider area so the eye cannot catch the edge. Strong side lighting, glossy paint, smooth walls, and long sightlines make small imperfections more obvious. Textured walls add a different challenge because the repair must match both shape and randomness.
In buildings with older or mixed wall materials, it helps to understand the broader wall system. For example, a gypsum patch at a masonry-backed wall may behave differently near moisture or movement, a topic related to masonry wall systems.
Texture and paint matching
Texture matching is part skill and part restraint. Test the texture on scrap board or cardboard first. Orange peel, knockdown, skip trowel, and smooth-wall skim repairs each need different timing and tools. Paint matching is also imperfect when the existing paint has aged, been cleaned, or faded. When a patch sits in a high-visibility area, painting corner-to-corner may look better than touching up a small island.
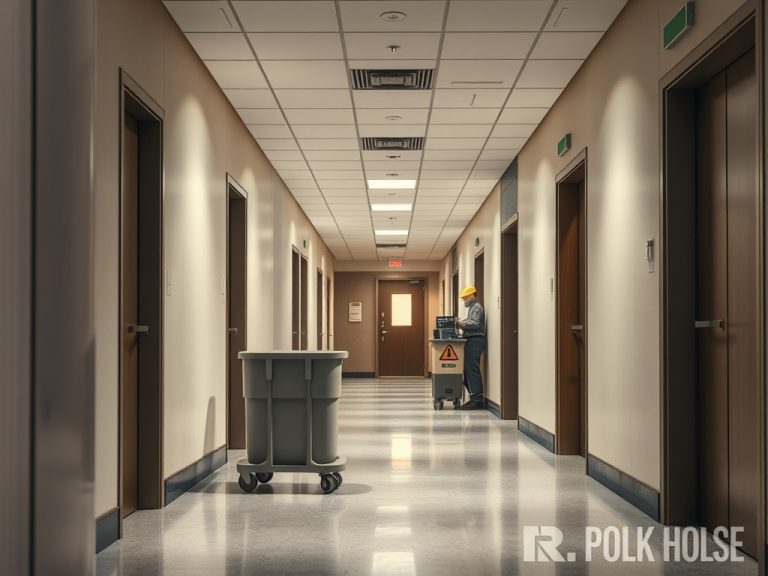
For commercial facilities, decide whether wall repair is a custodial report, a maintenance task, or a contractor task. The responsibility boundary is similar to custodial and technical maintenance roles, because cleaning a scuff and repairing damaged gypsum board are not the same job.
Mistakes that make patches stand out
- Ignoring the cause of damage, especially moisture or movement.
- Using too much compound in one coat.
- Skipping tape on a seam because the patch looks small.
- Sanding through the paper face or leaving fuzzy edges unsealed.
- Painting without primer or using a different sheen than the surrounding wall.
- Trying to patch wildfire or heat-damaged exterior-adjacent walls without checking for deeper envelope damage, a concern connected to fire-resistant exterior upgrades.
Repair readiness list
- Identify the damage source and confirm the board is dry and stable.
- Check whether lead-safe practices, fire-rated assemblies, or building rules apply.
- Use backing, tape, compound, primer, and paint that fit the repair.
- Inspect under the same lighting that occupants will see.
- Document recurring damage so the building can solve the root cause.
Working around trim, corners, and high-light walls
Some patches are difficult because of their location rather than their size. Damage beside baseboards, door casing, tile edges, inside corners, or ceiling lines leaves little room to feather compound. In those areas, careful masking, a narrow taping knife for the first coat, and a wider finishing knife for the final blend can help keep the repair flat without loading compound onto adjacent finishes.
High-light walls need extra patience. Long corridors, stair walls, smooth painted surfaces, and walls with windows at one end reveal ridges that would disappear in a closet. Use a portable light from the side before primer, not after final paint. If you can see a ridge in side light, occupants will probably see it when the sun or overhead lighting hits the wall.
Touch-up expectations should be discussed before work starts. A small patch may still require painting to a natural break point if the existing wall has aged, faded, or been cleaned unevenly. That is not a failure of the patch. It is part of matching the whole surface.
Making the wall disappear again
The goal is not to hide poor work with paint. The goal is to rebuild a stable surface and blend the finish into the existing wall. This article is educational and does not replace lead-safe, fire-rated assembly, mold, building code, or professional repair advice.
For the next patch, spend more time on preparation and feathering than on the final coat. That is where most invisible repairs are won or lost.