A check engine light diagnosis includes reading stored codes, checking freeze-frame data, verifying symptoms, testing likely systems, and confirming the repair. Clearing the code is not the same as fixing the reason the light came on.
Quick Takeaways
- The code points to a system or fault condition; it rarely names the failed part by itself.
- A complete diagnosis may include visual checks, scan-tool data, electrical tests, smoke tests, fuel and ignition checks, and a road test.
- A flashing light or rough running deserves quick attention because continued driving can worsen damage.
The light is a starting point, not a verdict
The check engine light is tied to onboard diagnostics, which monitor many emissions-related systems and store fault information when something falls outside expected behavior. Federal OBD requirements describe systems that detect malfunctions, store codes, and alert operators; readers who want the regulatory foundation can review federal OBD system requirements. In everyday terms, the light means the vehicle has noticed a condition that needs investigation. It does not automatically mean the oxygen sensor, gas cap, or catalytic converter is bad.
What happens during the first scan
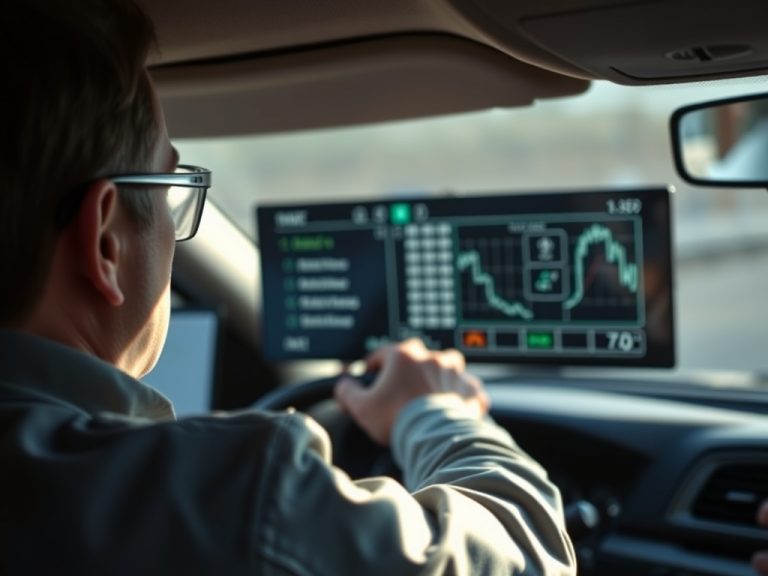
A shop begins by connecting a scan tool and retrieving diagnostic trouble codes, freeze-frame data, readiness monitor status, and sometimes pending codes. Freeze-frame data matters because it shows conditions when the fault was recorded, such as speed, temperature, load, or fuel-trim behavior. A basic parts-store scan can be useful, but it is not the full diagnosis. The next step is to test the system named by the code.
The tests behind the estimate
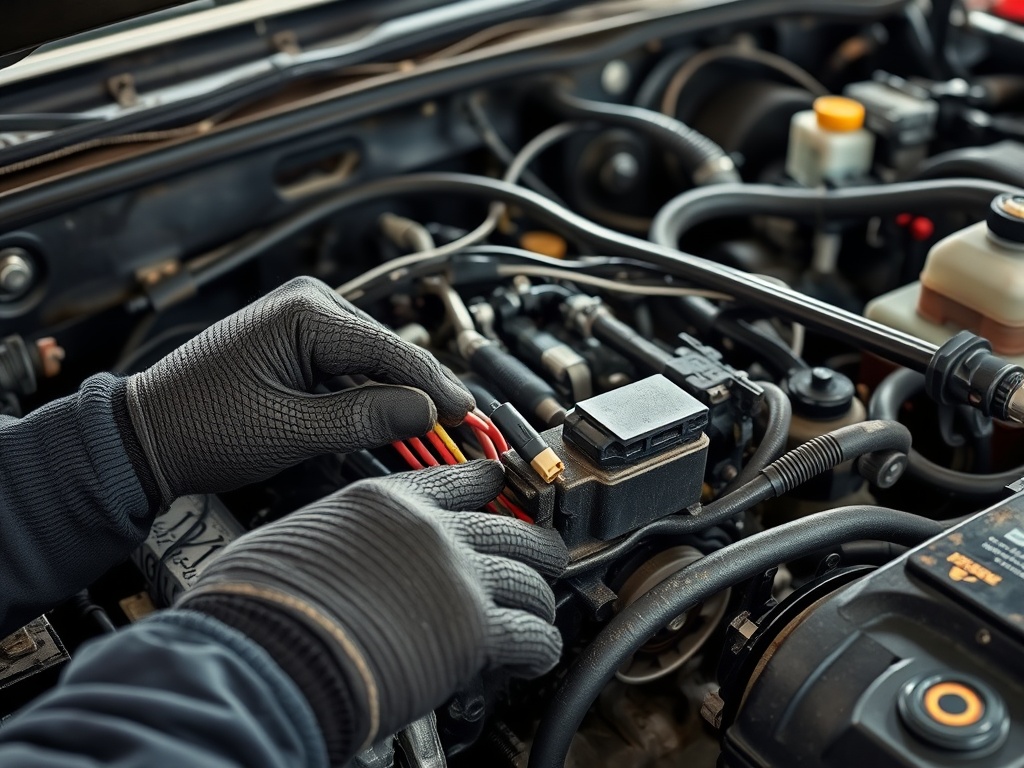
Depending on the code, technicians may inspect wiring, check for vacuum leaks, test fuel pressure, compare sensor readings, inspect ignition components, perform a smoke test, or run manufacturer-specific procedures. A misfire code can come from spark, fuel, compression, wiring, software, or mechanical issues. An evaporative emissions code can involve a loose cap, purge valve, vent valve, hose, or leak. A proper estimate should explain what was found, not just what code appeared. For supporting guidance, see federal OBD system requirements.
How urgency is judged
A steady light with normal drivability is usually less urgent than a flashing light, severe shaking, raw fuel smell, overheating, or loss of power. A flashing light often indicates a misfire severe enough to risk catalyst damage. If the vehicle is unsafe to drive, tow it. If it runs normally, schedule diagnosis soon and avoid long trips until the cause is understood. The NHTSA safety issue search can also be useful if the symptom seems tied to a known safety issue or recall.
Why clearing codes causes confusion
Clearing a code turns off the light temporarily and erases useful diagnostic clues. It also resets readiness monitors, which can matter for emissions inspection. If the underlying fault remains, the light will return after the vehicle runs the relevant self-test. This is why a diagnosis should include verification after repair. If the car must stay overnight for cold-start testing, use the documentation checklist in questions to ask before leaving your car overnight before leaving the keys.
What drivers should ask before approving work
Ask which codes were stored, what tests confirmed the failed component, whether there are related pending codes, and how the repair will be verified. If the shop recommends unrelated services, ask whether they are safety-critical, maintenance-related, or optional. A brake squeak or lighting concern, for example, may be separate from the check engine light; guides on squeaking brakes early warnings and LED headlight upgrade problems can help keep symptoms organized. The next step is to approve diagnosis first, then approve repairs once the evidence is clear. For supporting guidance, see NHTSA safety issue search.
Evidence That Makes a Diagnosis Stronger
Strong diagnosis connects the code, the symptom, and the test result. For example, an oxygen-sensor code may lead to sensor testing, but it may also lead to checking exhaust leaks, wiring, fuel control, or engine misfires. A good explanation does not need to be overly technical, but it should answer why this part or repair is being recommended now. If the answer is only “the scanner said so,” the diagnostic story is incomplete.
Readiness monitors are another reason to slow down. After codes are cleared, the vehicle may need specific driving conditions before the system can confirm that repairs worked. This is why a light can stay off for a few miles and then return later. It is also why clearing codes before an emissions test can backfire. Ask the shop whether monitors were ready, whether pending codes remain, and whether a post-repair drive cycle is needed. For connected context, read questions to ask before leaving your car overnight.
Drivers can help by sharing recent fuel fill-ups, battery replacements, jump-starts, rough starts, stalling, fuel economy changes, or prior repairs. Small details often connect the dots. A loose fuel cap after refueling, a weak battery after storage, or a misfire under load can point the technician toward the right test. The best next move is not panic; it is a measured diagnostic process with proof before parts.
How to Read the Diagnostic Result
When the shop finishes diagnosis, the result should connect cause and effect. A useful explanation might say that a smoke test found an evaporative leak at a specific valve, or that misfire data followed one cylinder and testing confirmed a failed coil. A weak explanation simply repeats the code number. You do not need to memorize scan data, but you should leave knowing what failed and how it was confirmed. For connected context, read squeaking brakes early warnings.
Ask whether there are secondary issues. Sometimes one failure creates another code. A vacuum leak can affect fuel trim. A misfire can stress a catalytic converter. A weak battery can create communication faults. The estimate should identify the first repair priority and whether more testing is needed afterward. This prevents a driver from assuming one repair will solve every stored code when the system has multiple concerns.
After repair, ask how verification was performed. That may include clearing codes, road testing, watching live data, confirming no immediate pending codes, or checking readiness monitors when relevant. For emissions-related repairs, the vehicle may need normal driving before all monitors complete. The best result is not simply a dark dashboard; it is a repair that stays fixed after the vehicle runs the required self-checks. For connected context, read LED headlight upgrade problems.
If the diagnosis points to more than one possible cause, ask the shop to rank the next tests instead of replacing several parts at once. A staged approach may feel slower, but it can be cheaper and more accurate. This is especially true with intermittent faults, evaporative leaks, misfires, and communication codes. The best diagnostic invoice tells a logical story from symptom to test to repair decision.
Practical Comparison for Drivers
| Diagnostic item | What it tells the shop | Why it matters |
|---|---|---|
| Stored code | System or monitored fault | Creates a starting path |
| Freeze-frame data | Conditions when fault set | Helps reproduce the issue |
| Live data | Sensor and system behavior | Separates symptoms from causes |
| Verification test | Result after repair | Confirms the light stays off for the right reason |
From Warning Light to Verified Fix
Use the symptom, the inspection evidence, and the vehicle’s real operating conditions to choose the next step. A good service conversation should leave you knowing what was checked, what is urgent, what can wait, and how the result will be verified after the work is finished.
Neutral next step: document the symptom, gather any maintenance history, and ask for a written inspection or diagnostic plan before approving parts replacement.